Interior painting: how to get a professional result
Preparation is most of the work. Good prep, primer and the right sheen make the difference.
August 30, 2026 · 2 min read
Paint is one of the cheapest ways to change a home, and the results depend on preparation more than on the brand. A careful job lasts years.
The short version: prepare surfaces well, use primer where needed, choose the right paint and finish for each room and paint in good conditions. Test for lead in older homes before sanding.
Plan and choose colours
Test colour samples on the wall and look at them in daylight and artificial light. Colours look different on a large surface. Light colours make rooms feel larger; darker colours add depth. Stay consistent with flooring and furniture.
Safety with older homes
Homes built before about 1980 may have lead-based paint. Do not sand or scrape it without testing first. Use test kits or a professional, and follow Health Canada's guidance. Wear a proper respirator and protect children and pregnant women if lead is present.
Prepare the surface
- Move or cover furniture and protect floors.
- Fill holes and cracks, then sand smooth.
- Clean walls of dust, grease and dirt.
- Tape edges and remove outlet covers.
- Repair any water stains and their cause before painting.
- Use primer on bare drywall, patches, stains or dramatic colour changes.
Choose the paint
- Flat or matte: hides flaws, best for ceilings and low-traffic rooms.
- Eggshell or satin: a good all-round finish for living areas and bedrooms.
- Semi-gloss: durable and washable, good for trim, doors, kitchens and bathrooms.
Look for low-VOC or zero-VOC paints, which release fewer fumes. Ventilate while painting and as it dries.
Technique
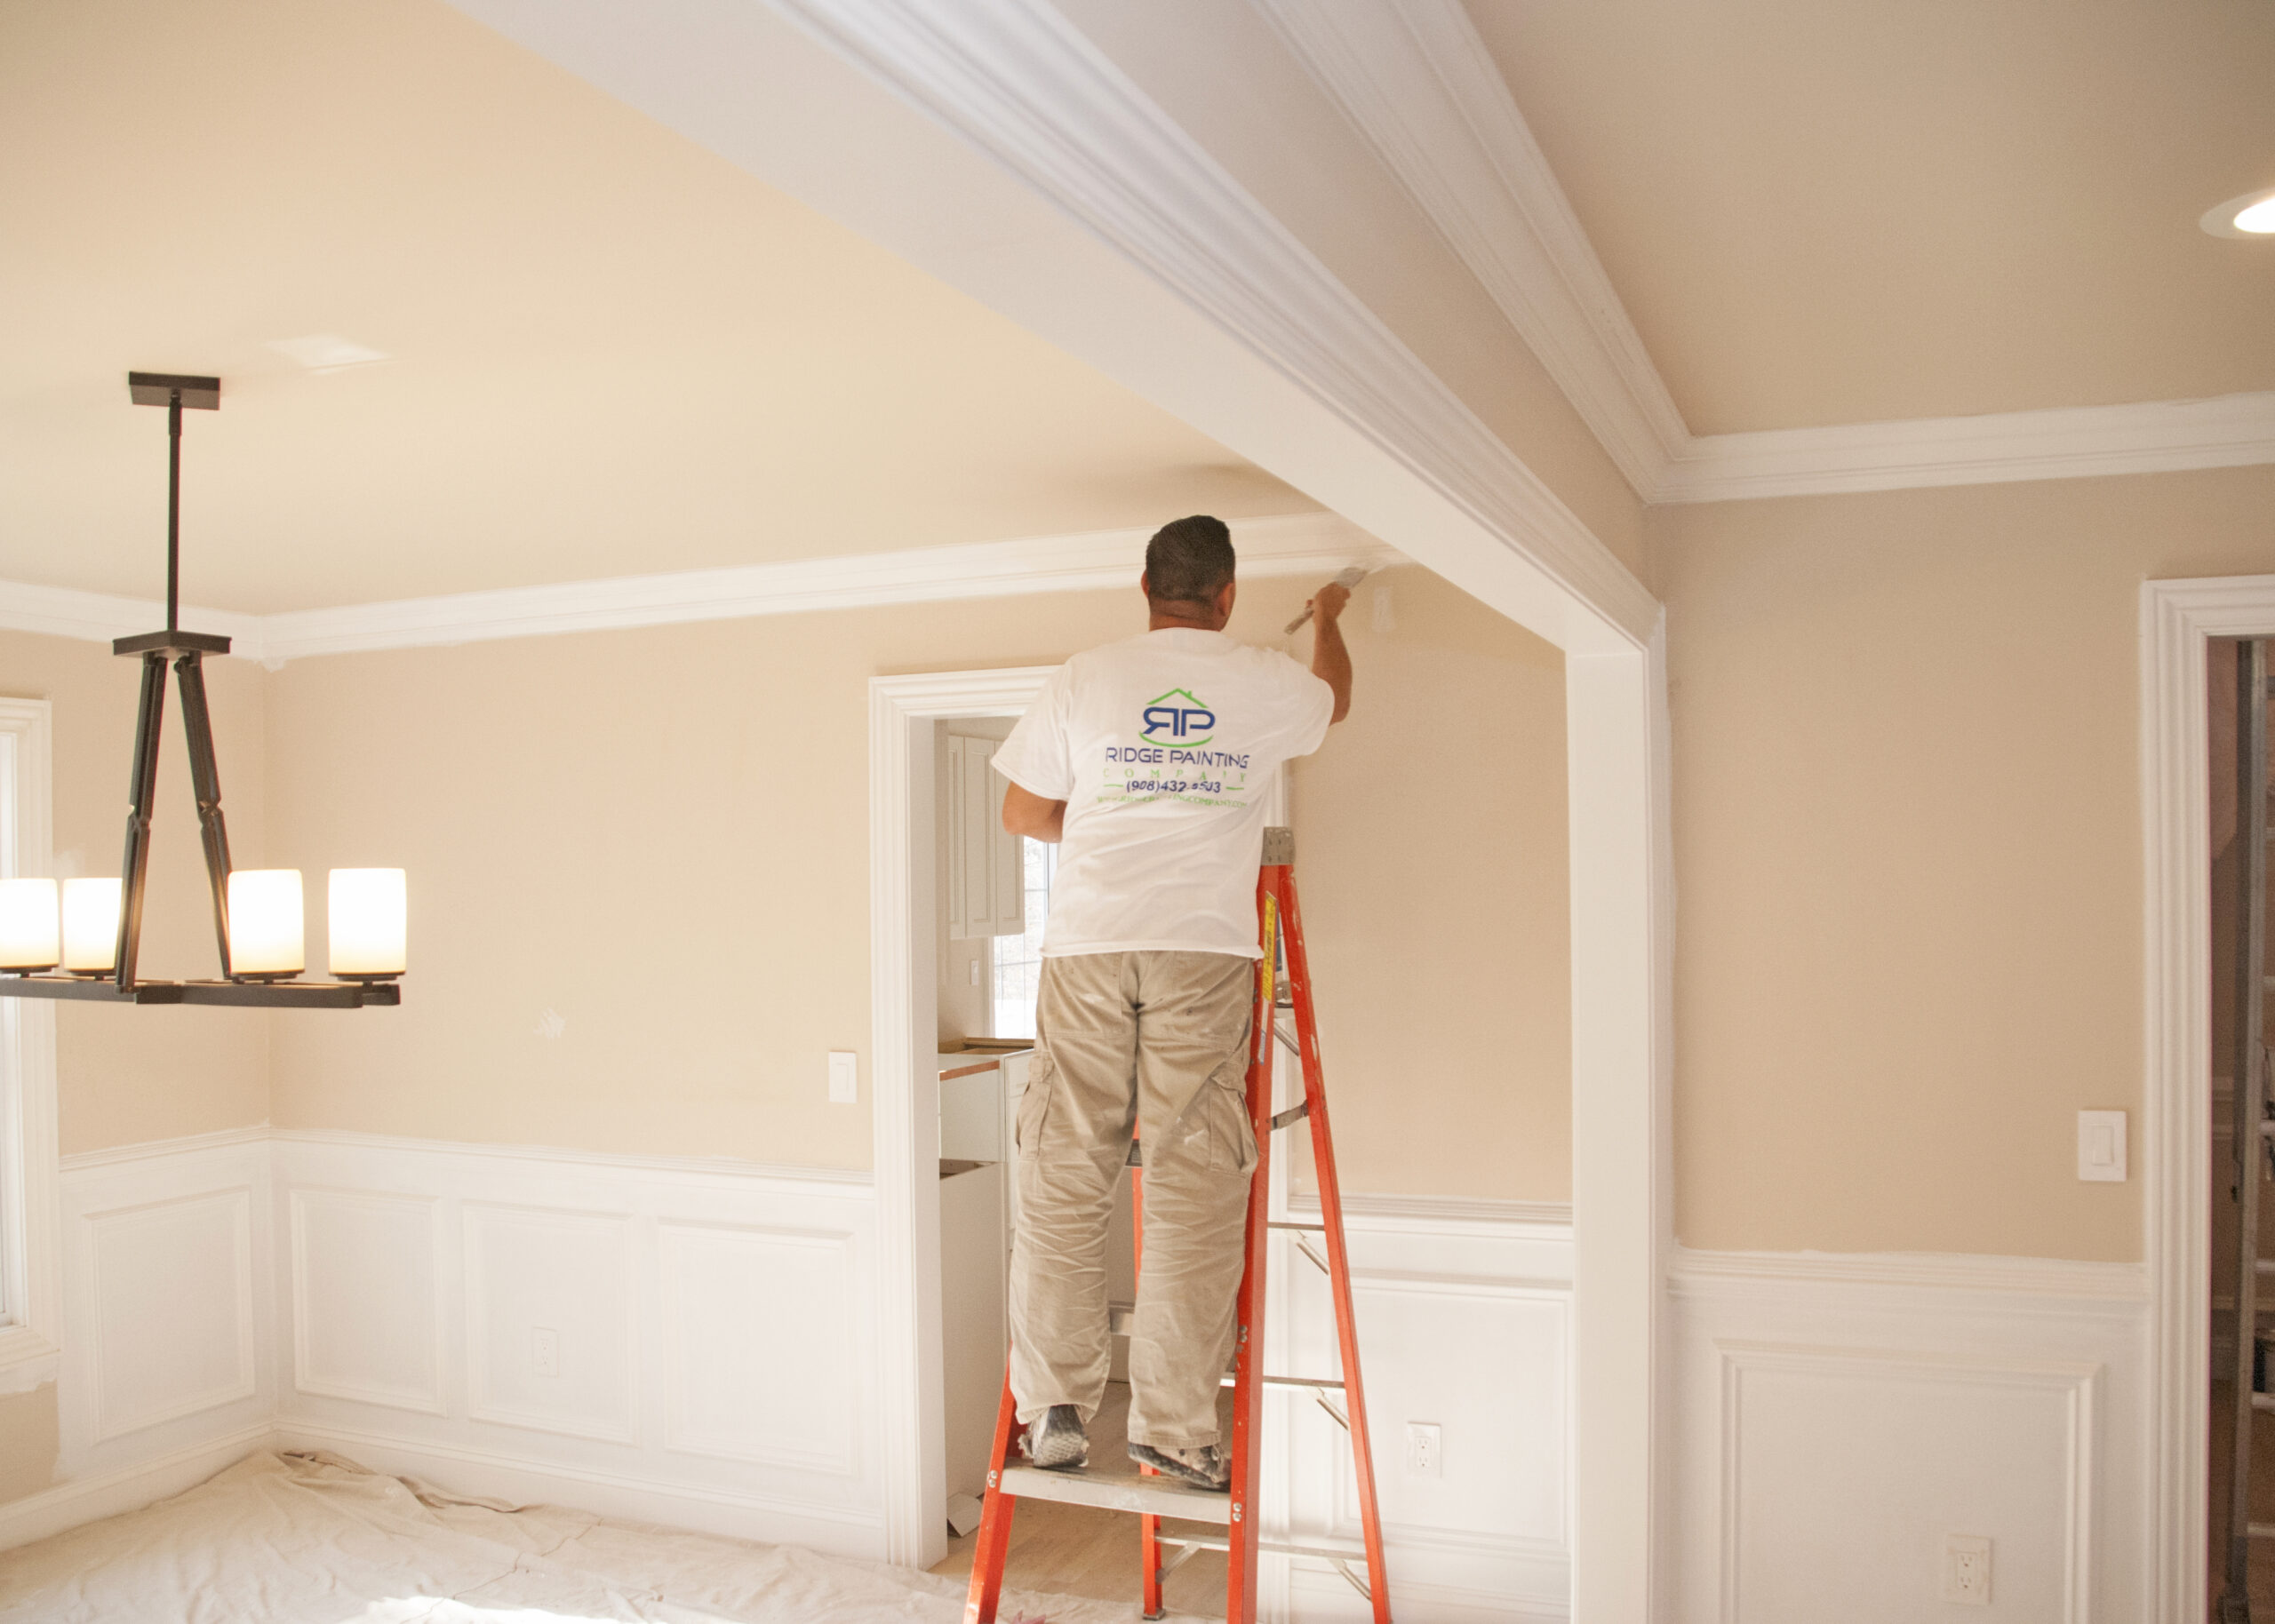
- Cut in edges with a brush, then roll the walls.
- Work in sections, keeping a wet edge to avoid lap marks.
- Apply two coats for good colour and coverage.
- Let paint dry between coats as the label advises.
- Paint ceilings first, then walls, then trim.
Estimating and cleanup
Paint cans state their coverage, so measure the wall area and subtract openings. Buy a bit extra for touch-ups, and keep leftover paint labelled. Clean tools, and dispose of paint at a household hazardous waste site, not down the drain.
Hire or DIY
Painting is a good DIY project. Hire a professional for high ceilings, stairwells, large homes or if you lack time. Get written quotes that specify prep, coats and paint brand.
Example
Skipping primer over a patched wall often leaves a visible patch. A little prep avoids it.
General information only, not financial, legal or tax advice. Rules and rates change; confirm with a qualified professional.